
Introduction: Preserving History, Enhancing Comfort
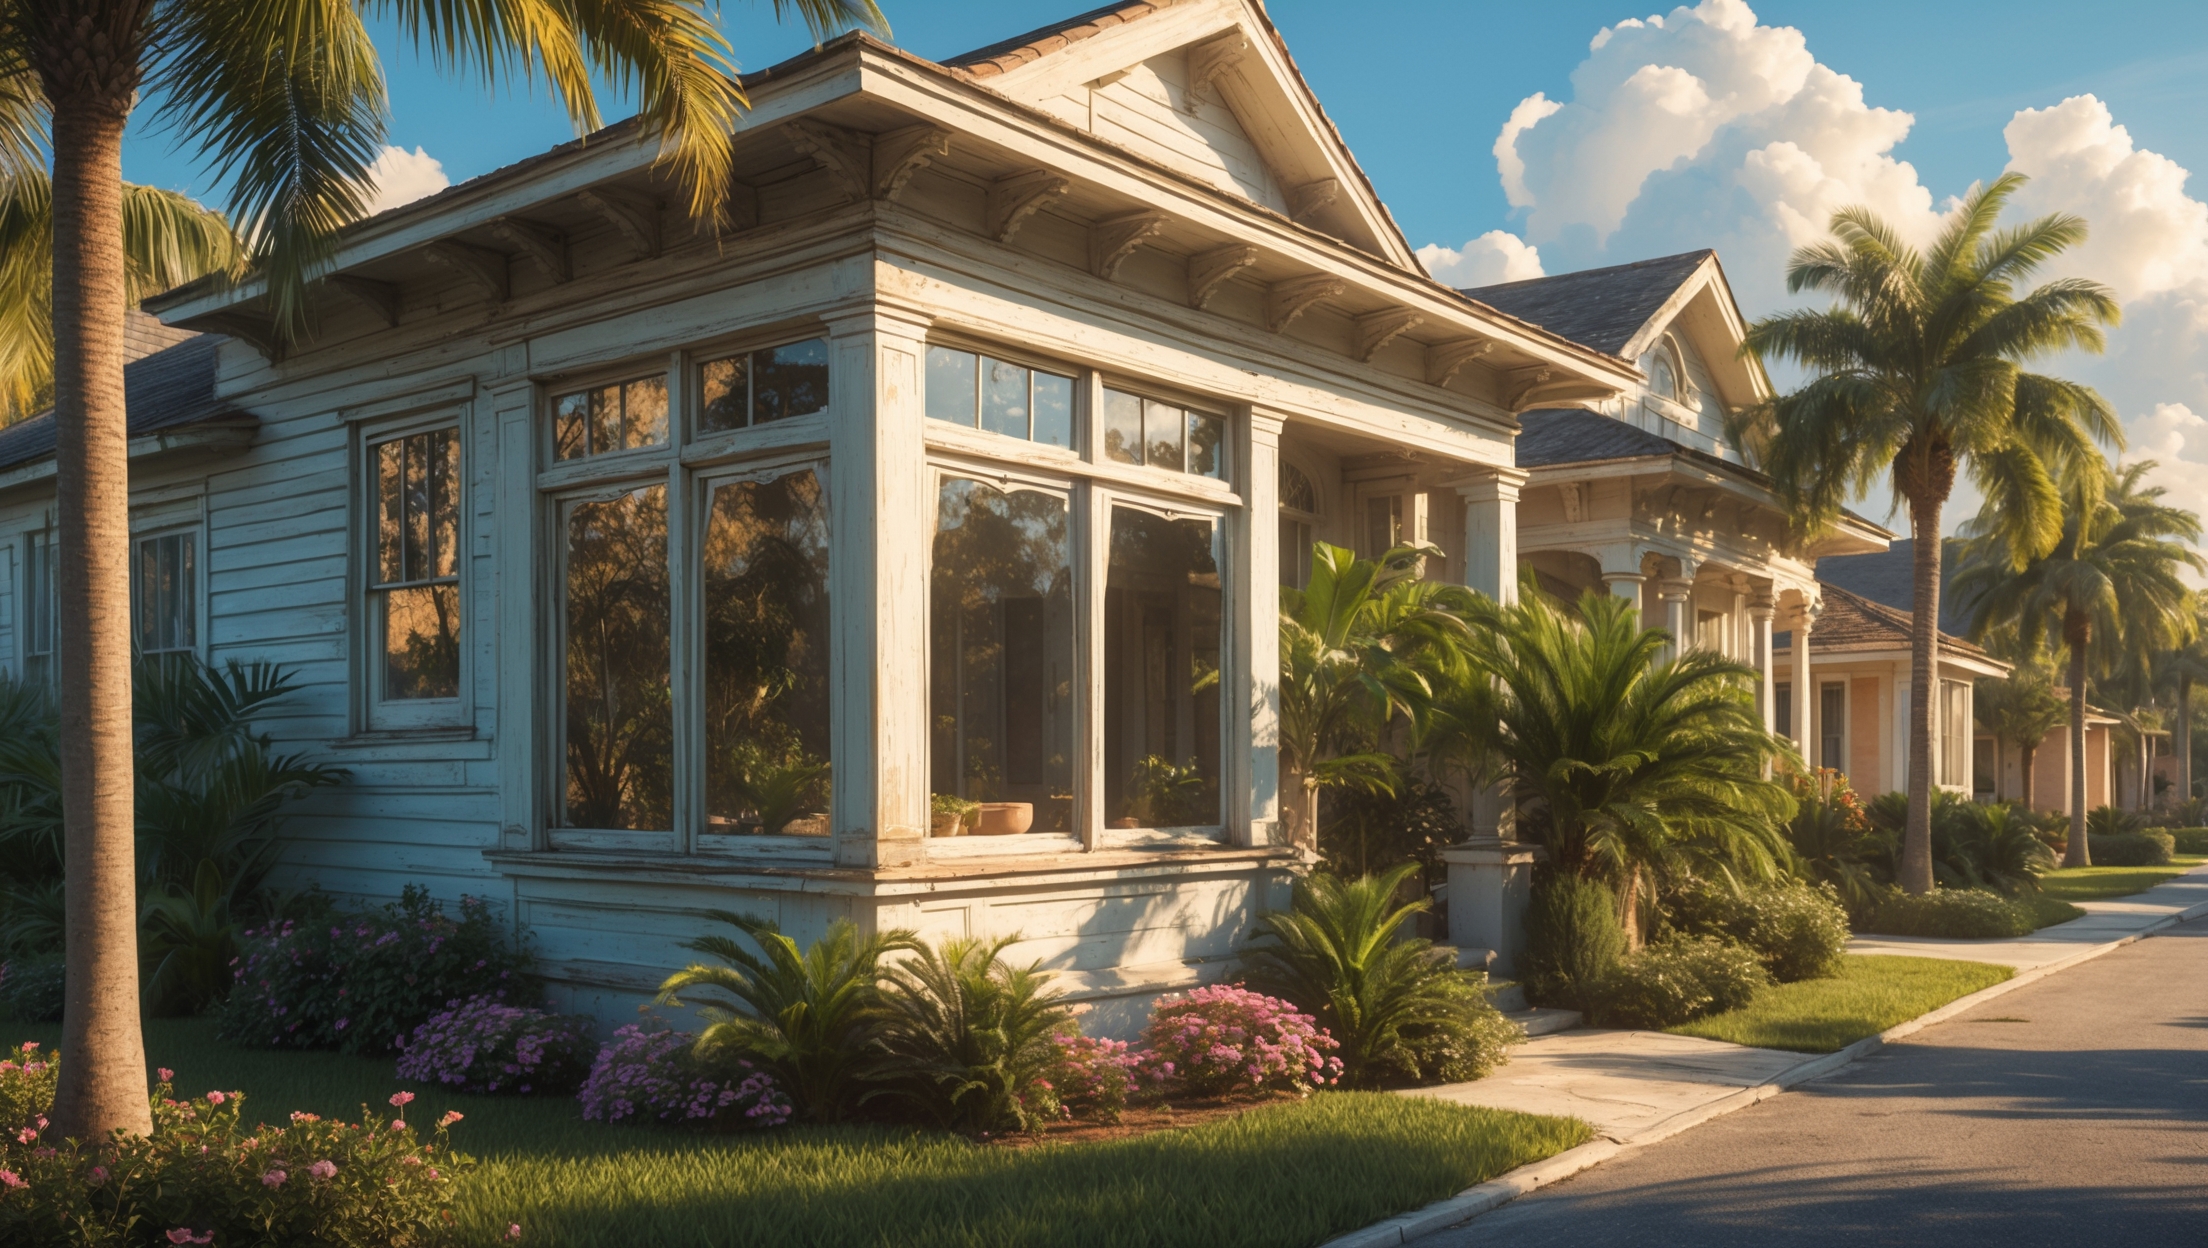
In Southeast Seminole Heights, historic homes line leafy streets, each with unique architectural details that tell the story of a bygone era. One of the most defining—and often overlooked—features of these homes is their original wood or steel windows. While modern replacements promise better efficiency, restoring original windows can maintain historic character, comply with local preservation guidelines, and, when done right, rival the performance of new units. However, window restoration is a nuanced process, blending craftsmanship, local requirements, and modern performance standards. Whether you’re a homeowner embarking on your first restoration or a seasoned renovator seeking to avoid common pitfalls, this guide offers a deep dive into everything you need to know about restoring windows in Southeast Seminole Heights. From initial assessment to finishing touches, we’ll cover tools, compliance, budgeting, and hands-on techniques for a project that enhances both your home’s charm and its comfort.
Why Restore Instead of Replace?
Historic Value and Curb Appeal
Original windows are integral to the architectural integrity of Southeast Seminole Heights homes. Their proportions, profiles, and vintage glass add irreplaceable character. Restoring them preserves the home’s authentic look, which is especially important in neighborhoods with historic overlays or preservation guidelines.
Environmental and Economic Benefits
- Sustainability: Restoration uses less material than replacement, reducing landfill waste.
- Cost Savings: Restored windows, when paired with storm windows or weatherstripping, often match or exceed the energy performance of replacements at a lower long-term cost.
- Longevity: Old-growth wood used in historic windows is more durable than most modern materials when maintained.
Local Compliance
Southeast Seminole Heights falls under certain preservation ordinances. Many properties require approval for window replacement, and restoration is often favored by review boards. Non-compliance can mean fines or forced removal of unapproved replacements.
Assessment: Is Your Window a Candidate for Restoration?
Signs of Restorable Windows
- Solid, rot-free wood or steel frames
- Intact or repairable sashes
- Minimal glass breakage (historic wavy glass is a plus, not a minus!)
- Functioning or reparable hardware
When Replacement is Unavoidable
- Severe structural rot or termite damage through the frame
- Lead paint hazards that cannot be mitigated
- Extensive water infiltration leading to persistent mold
Even in these cases, consider consulting a restoration professional—many windows that look beyond hope can be saved.
Budgeting for Window Restoration: What to Expect
Typical Cost Breakdown
- DIY: $100–$350 per window (materials and tools only)
- Professional: $400–$900 per window (varies with complexity, glazing needs, and hardware replacement)
Hidden Costs to Plan For
- Lead paint testing and remediation
- Custom glass cutting for broken panes
- Storm window fabrication
- Permit fees (required for exterior work in some cases)
Essential Tools and Materials
- Putty knife and glazing tool
- Heat gun or infrared paint remover (for softening old putty)
- Scrapers and sandpaper
- Epoxy wood consolidant and filler
- Replacement glazing points and glazing putty
- Quality primer and exterior paint (oil- or water-based, compatible with historic wood)
- Weatherstripping (bronze, felt, or silicone type)
- Lead-safe work supplies (HEPA vacuum, respirator, containment sheets)
Step-by-Step Window Restoration Process
1. Documentation and Initial Inspection
Before any work begins, photograph each window and make notes of unique features, hardware, and existing damage. This helps ensure accurate reassembly and compliance documentation if required by the local historic review board.
2. Safe Paint and Glazing Removal
Many historic windows are coated with lead-based paint. Use a HEPA vacuum, respirator, and drop cloths to protect yourself and your home. Carefully remove old paint and glazing putty using a heat gun or infrared stripper (never open flames). Scrape gently to avoid damaging the wood.
3. Sash and Frame Repairs
Assess wood for rot or insect damage. Small areas can be consolidated with epoxy; larger sections may need splicing with new wood of similar grain and species. Tighten loose joinery with wood glue and clamps.
4. Glass Repair and Replacement
Salvage original wavy glass wherever possible. For broken panes, have new glass cut to fit, matching thickness and clarity of existing panes. Secure with glazing points.
5. Reglazing
Apply fresh glazing putty smoothly around each pane, creating a weather-tight seal. Allow the putty to cure per manufacturer’s instructions (often several days) before painting.
6. Hardware and Balances
Clean and lubricate original hardware. Replace missing or broken sash locks, pulleys, or weights with period-appropriate replicas. Reinstall balances or sash cords for smooth operation.
7. Weatherstripping and Sealing
Install high-quality weatherstripping to reduce air leakage. Bronze or spring bronze is historically accurate and extremely durable. Test operation after installation to ensure windows open and close easily.
8. Priming and Painting
Prime all bare wood. Apply two coats of exterior-grade paint, ensuring all edges (especially those not visible once installed) are protected from moisture. Choose colors that align with the home’s historic palette or consult local guidelines.
9. Reinstallation and Adjustments
Carefully reinstall sashes into their frames. Adjust stops and parting beads for smooth movement. Test for drafts and make final weatherstripping tweaks as needed.
Compliance and Permitting in Southeast Seminole Heights
What Requires a Permit?
- Exterior window restoration that alters appearance (new materials or changes to divided light patterns)
- Work on homes within designated historic districts
Simple, in-kind repairs (restoring existing sashes, reglazing) often do not require permits, but always check with the City of Tampa’s Historic Preservation office.
Documentation Tips
- Save before-and-after photos for compliance records
- Retain invoices for work and materials
- Obtain written approval for any visible changes
Energy Efficiency Upgrades Without Sacrificing Character
Weatherstripping
Proper weatherstripping can cut air leakage by 25–50%. Focus on the meeting rail, sash edges, and frame. Avoid bulky materials that impede window movement.
Storm Windows
Interior or exterior storm windows add a second layer of insulation. For historic homes, choose custom low-profile storms in wood or aluminum, color-matched to existing trim. These are often permitted even in preservation areas.
Insulating Window Treatments
Cellular shades or lined curtains bolster efficiency while preserving original windows. Mount them close to the glass for best results.
Maintenance Best Practices
- Inspect windows every spring and fall for cracked paint, missing putty, or sticky operation
- Touch up paint and putty as soon as deterioration appears
- Lubricate hardware annually
- Keep sills and weep holes clear of debris to prevent water damage
Safety Checklist: Protecting Yourself and Your Home
- Always test for lead paint before disturbing old finishes
- Work in well-ventilated areas
- Use drop cloths and HEPA vacuums to contain dust
- Store sharp tools safely and clean up after each session
Case Study: Restoring 1920s Craftsman Windows on E. Louisiana Avenue
When local homeowners Emily and Joe purchased their 1926 bungalow, the original windows were stuck shut, with peeling paint and several broken panes. Unsure whether restoration was possible, they consulted a local expert, who confirmed the sashes were solid and the unique wavy glass mostly intact.
The restoration process included safe lead paint removal, epoxy repairs to minor rot, reglazing with salvaged glass, and installing custom bronze weatherstripping. Interior storm panels were added for energy efficiency. The total cost: $650 per window—less than premium replacements and fully compliant with local preservation rules. Their home now boasts smooth-operating, draft-free windows that retain period charm—plus reduced utility bills.
Frequently Asked Questions
Can I restore just one window, or do I have to do the whole house?
You can tackle windows individually, spreading cost and effort over time. Many homeowners start with the worst windows and work through the house as budget allows.
Is it worth hiring a professional?
If your windows have lead paint, severe rot, or you want a flawless finish, a professional is a wise investment. For minor repairs and painting, skilled DIYers can achieve excellent results with patience and the right tools.
What about hurricane protection?
Code-compliant storm windows or removable hurricane panels can be installed over restored windows. These solutions are often approved in historic districts when installed with minimal visual impact.
Conclusion: Enhancing Your Home—And Its Legacy
Window restoration in Southeast Seminole Heights is far more than a cosmetic upgrade—it’s a commitment to preserving your home’s heritage, improving energy performance, and contributing to the character of your community. While the process can be meticulous, the rewards are significant: increased comfort, lower energy bills, and the satisfaction of maintaining a piece of Tampa’s architectural story. By planning carefully, following best practices, and respecting local guidelines, you can ensure your restored windows serve your family—and future generations—while standing up to Florida’s climate. Whether you choose to DIY or partner with a restoration craftsman, each window you save is a step toward a more sustainable and beautiful neighborhood. Ready to start? With the right knowledge, tools, and respect for history, your home’s windows can shine for decades to come.