
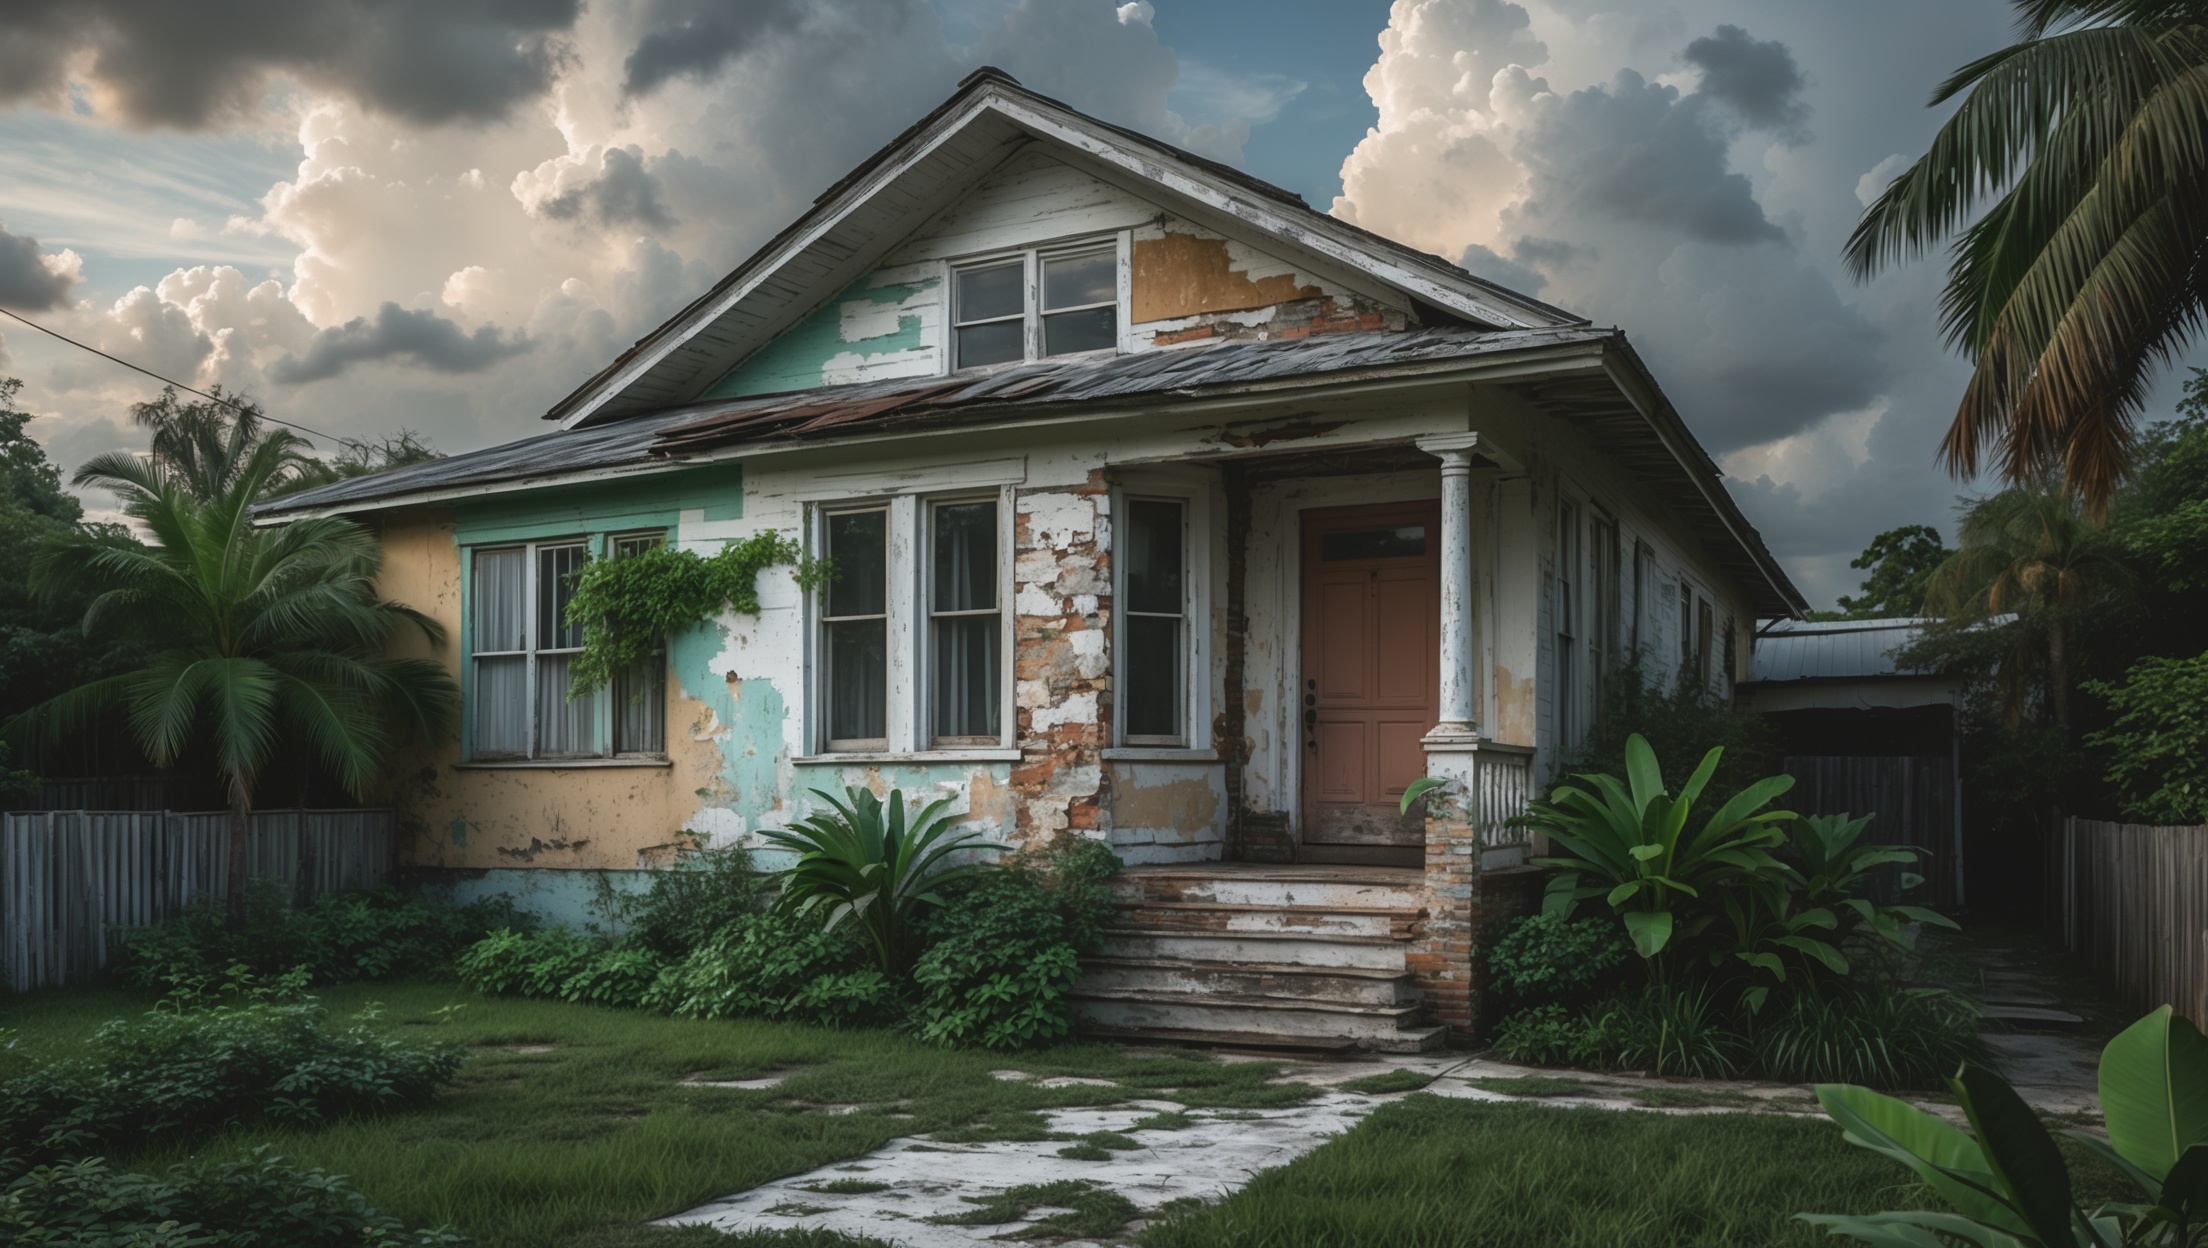
Introduction: Why Paint Fails in Southeast Seminole Heights—and What You Can Do About It
In Southeast Seminole Heights, the colorful bungalows and historic homes are a visual staple, but maintaining that crisp, fresh paint finish is a persistent challenge. You may notice bubbling, cracking, or peeling paint on your home’s exterior sooner than expected, despite using high-quality products or following instructions. Why is this such a common issue here? The answer goes beyond just the age of the homes. Local climate conditions—intense sun, humidity, driving rain, and even the salty air drifting inland from Tampa Bay—all conspire to put your paint to the test.
Understanding why paint fails in our neighborhood is the first step toward a longer-lasting, more beautiful finish. Whether your house is a historic Craftsman or a midcentury cottage, local factors like fluctuating moisture levels, UV exposure, and even legacy coatings (like old oil-based paints) can undermine your best efforts. This guide will dig into the specific reasons paint fails in Southeast Seminole Heights, identify the telltale signs to watch for, and offer step-by-step repair and prevention strategies tailored to our unique environment. With the right know-how and approach, you can revitalize your home’s curb appeal and protect it for years to come.
Main Causes of Paint Failure in Southeast Seminole Heights
1. High Humidity and Frequent Rain
Our subtropical climate delivers near-daily humidity spikes and intense summer downpours. Excessive moisture can seep into wood siding, stucco, or masonry, breaking the bond between paint and substrate. Common issues include:
- Bubbling or Blistering: Moisture trapped beneath the paint expands when heated by the sun, causing bubbles.
- Peeling: Water infiltration leads to a loss of adhesion, causing the paint to lift and flake away.
2. Intense Sun and UV Exposure
Florida’s relentless sun can degrade paint, especially on south- and west-facing walls. UV rays break down the paint’s binders, leading to:
- Fading: Colors become dull, especially deep or vibrant shades.
- Chalking: A powdery residue forms as paint pigments and binders deteriorate.
3. Inadequate Surface Preparation
Many paint failures stem from improper prep work. Historic homes may still have layers of old oil-based paint or residues from previous repairs. Issues include:
- Poor Adhesion: Painting over dirt, loose paint, or glossy surfaces prevents proper bonding.
- Incompatible Coatings: Latex over oil-based paint without proper priming leads to peeling.
4. Lack of Proper Ventilation
Older homes may have limited attic or wall ventilation, which traps moisture inside walls. This causes hidden condensation, especially after heavy rains, and eventually results in paint failure from the inside out.
5. Use of Low-Quality or Inappropriate Paints
Budget or indoor-rated paints simply can’t withstand local weather extremes. Using the wrong type of paint for your siding material or skipping primer also shortens the life of your paint job.
6. Legacy Issues: Lead Paint and Historic Materials
In pre-1978 homes, old lead-based coatings or calcimine finishes can compromise new paint’s performance. These require careful removal or encapsulation to ensure a solid base for new coatings.
7. Pest and Biological Growth
Our humid environment fosters mildew, algae, and termite activity. These not only mar the appearance but also undermine paint integrity, especially in shaded or poorly ventilated areas.
How to Diagnose Paint Problems Like a Pro
Visual Inspection Checklist
- Blistering: Raised bubbles, usually from trapped moisture or painting in direct sun.
- Peeling: Paint lifting in strips, typically near gutters, windows, or at the base of walls.
- Cracking or Crazing: Fine lines or alligator-skin patterns, often from thick or improperly applied paint.
- Chalking: Rub your hand over the surface; if it comes away dusty, UV degradation is at fault.
- Mildew and Algae: Black, green, or gray patches, especially in shaded or damp zones.
Testing for Underlying Issues
- Moisture Meters: Use a pin-type moisture meter to check siding or trim. Readings above 15% indicate a moisture problem.
- Lead Testing Kits: For homes built before 1978, test for lead before sanding or scraping.
- Adhesion Tests: Cut a small X in the paint and apply tape; if paint lifts with the tape, adhesion is poor.
Step-by-Step Repair Strategies for Lasting Results
1. Address Moisture Sources First
Repair roof leaks, cracked gutters, or improper grading before repainting. Check for plumbing leaks and ensure proper drainage around the foundation. Trim shrubs and vines away from walls to boost airflow.
2. Remove Loose or Damaged Paint
- Scraping: Use a carbide scraper or putty knife to remove all peeling or bubbling paint. Don’t rush—complete removal ensures a solid base.
- Sanding: Feather edges with 80–120 grit sandpaper. For larger areas, consider renting a power sander with a dust extractor.
- Lead Safety: If lead paint is present, use a HEPA vacuum, wet methods, and wear proper PPE. Dispose of debris per local guidelines.
3. Clean and Treat Surfaces
- Washing: Use a mild detergent and a soft brush or a low-pressure washer. Rinse thoroughly and allow to dry for at least 48 hours.
- Mildew Removal: Apply a solution of 1 part bleach to 3 parts water to affected areas. Rinse well and allow to dry.
4. Repair Substrate Damage
Patch holes or cracks with exterior wood filler or masonry repair compound. Replace rotted wood and caulk all gaps, especially around windows, doors, and trim. Use a high-quality, paintable exterior caulk.
5. Prime for Success
- Choose the Right Primer: Use oil-based or specialty bonding primers over old oil-based paints or chalky surfaces. For bare wood, opt for a stain-blocking primer.
- Apply Evenly: Use a brush for trim and edges, and a roller or sprayer for large, flat surfaces.
6. Select High-Quality Exterior Paint
- Acrylic Latex: Best for Florida’s climate; offers flexibility, UV resistance, and easy cleanup.
- Elastomeric Paints: Ideal for stucco or masonry; bridges hairline cracks and resists moisture.
- Sheen Matters: Satin or semi-gloss resists dirt and mildew better than flat finishes.
7. Apply Paint in Optimal Conditions
- Paint when temperatures are between 50–90°F and humidity is below 70%.
- Avoid painting in direct sun or when rain is forecast within 24 hours.
- Apply two coats for best durability, allowing full drying between coats.
Pro Tips for Preventing Future Paint Problems
- Inspect Annually: Check painted surfaces each spring and after storm season for early signs of trouble.
- Keep Gutters Clean: Clogged gutters overflow and saturate siding, leading to paint failure.
- Maintain Landscaping: Trim plants away from walls to reduce trapped moisture and mildew growth.
- Re-caulk as Needed: Inspect caulk lines annually and refresh where gaps or cracks appear.
- Touch Up Promptly: Address small chips or cracks before they spread.
- Choose Light Colors: Lighter shades reflect more sunlight, reducing heat stress and fading.
- Consider Overhangs and Shading: Adding awnings or shade trees can protect vulnerable facades.
Local Product Recommendations and Resources
Paint Brands Suited for Tampa Bay Climate
- Benjamin Moore Aura Exterior: Exceptional color retention and mildew resistance.
- Behr Marquee Exterior: Known for weatherproofing and UV protection.
- Sherwin-Williams Duration: Excellent for humid and coastal conditions.
Where to Shop Locally
- Seminole Heights Paint & Hardware: Knowledgeable staff, historic home expertise.
- Local Benjamin Moore and Sherwin-Williams Stores: Stock the latest exterior formulations.
Local Pros for Challenging Jobs
- Historic Restoration Contractors: For lead paint or ornate details, hire a specialist familiar with local codes and preservation standards.
- Moisture Remediation Experts: If you suspect hidden leaks or systemic moisture, consult a pro for diagnosis and repair.
Permitting and Compliance Considerations
While most routine exterior painting doesn’t require a permit in Southeast Seminole Heights, some situations may trigger local oversight:
- Historic District Guidelines: If your home is designated historic, color choices and prep methods may need approval from the Tampa Historic Preservation Office.
- Lead Paint Removal: Federal and state regulations govern safe removal of lead-based paints. Contractors must be EPA-certified, and debris must be properly disposed of.
Always check with the City of Tampa’s permitting office or your neighborhood association before starting a major paint project, especially if you’re updating colors or working on visible facades.
Frequently Asked Questions
- How often should I repaint my home in Southeast Seminole Heights?
Most homes require repainting every 5–8 years, but local conditions can shorten or extend this window. Regular maintenance and prompt repairs can help you reach the upper end of that range. - Can I paint over mildew or chalky surfaces?
No—always remove biological growth and chalking before priming and painting to ensure adhesion and durability. - Is it safe to paint during Florida’s rainy season?
It’s best to schedule exterior painting for late fall, winter, or early spring when humidity and rain risk are lower. - What’s the best paint finish for humid climates?
Satin or semi-gloss sheens are easier to clean and resist mildew better than flat paints.
Conclusion: Achieve a Lasting, Beautiful Paint Finish in Southeast Seminole Heights
Living in Southeast Seminole Heights means embracing the charm—and the maintenance challenges—of historic and character-rich homes. The climate’s relentless humidity, sun, and storms make exterior paint failure a fact of life, but with informed strategies and the right materials, you can keep your home looking fresh and protected for years to come. The key is proactive care: address moisture issues before they escalate, invest in thorough prep work, and choose paints formulated for our subtropical conditions. Don’t underestimate the value of annual inspections and quick touch-ups, which can save you from more extensive repairs down the line.
If your home is in a historic district, take pride in preserving its unique character by following best practices for prep, priming, and compliance. For persistent or severe issues, don’t hesitate to consult local pros—many have deep experience with Seminole Heights’ unique housing stock and climate. Ultimately, a successful paint job here is about more than aesthetics; it’s your home’s first line of defense against the elements. Armed with the knowledge and tips in this guide, you can make smart choices that extend the life of your exterior and maintain the neighborhood’s vibrant curb appeal.